In This Article
Introduction
Welcome to our step-by-step guide on using a spin mop effectively! Spin mops are a fantastic cleaning tool that can make your mopping routine quicker and more efficient. In this tutorial, we will walk you through the process of using a spin mop, from assembling the mop to achieving a sparkling clean floor. Let’s get started!
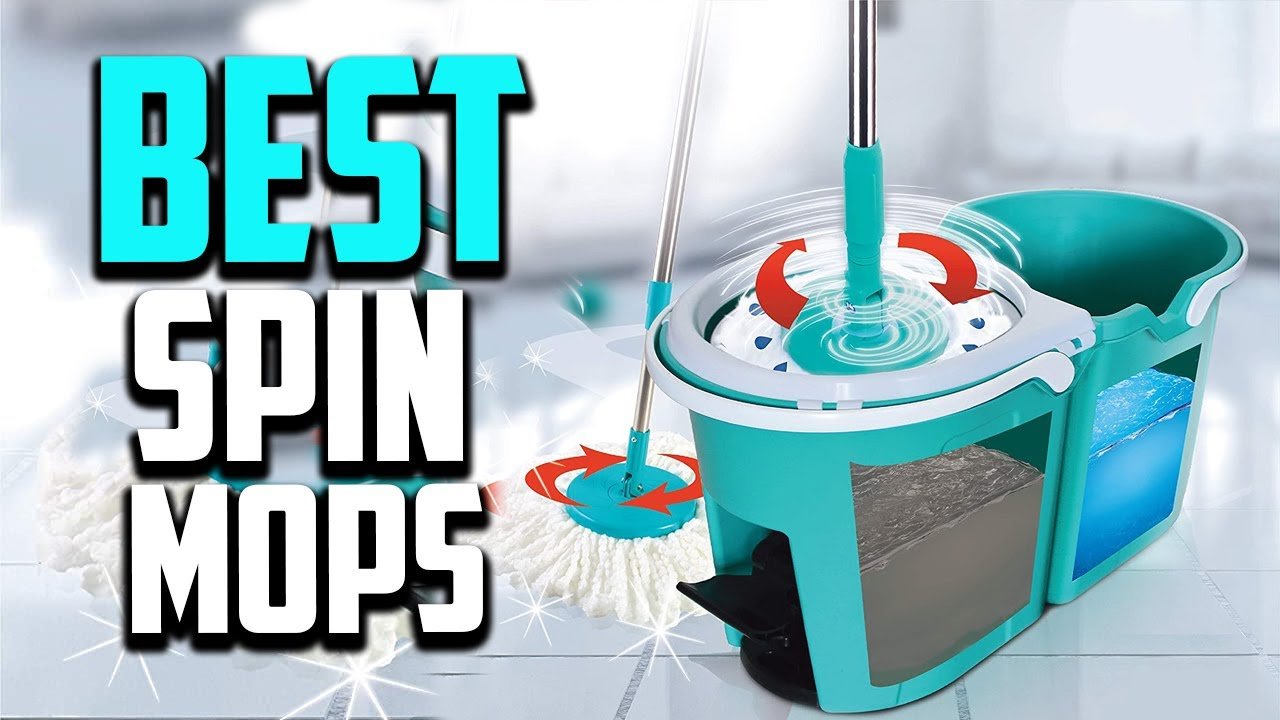
Step 1: Assembling the Spin Mop
The first step in using a spin mop effectively is to assemble the mop. Most spin mops come with a bucket, a mop handle, and a mop head. Start by attaching the mop head to the mop handle according to the manufacturer’s instructions. Make sure it is securely fastened to avoid any accidents while cleaning.
Step 2: Preparing the Cleaning Solution
Before you start mopping, you’ll need to prepare the cleaning solution. Fill the bucket with warm water and add a suitable floor cleaner or detergent. Be sure to follow the instructions on the cleaning product for the correct dilution ratio. Avoid using excessive amounts of cleaning solution, as it can leave a residue on your floor.
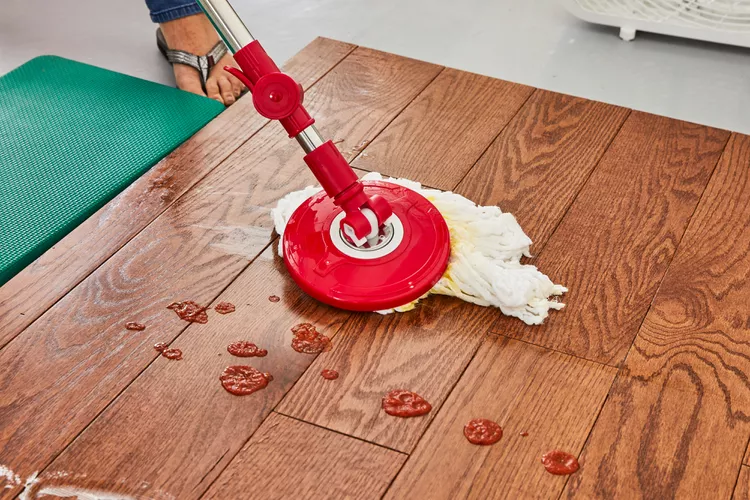
Step 3: Dipping and Rinsing the Mop
Once you have prepared the cleaning solution, dip the mop head into the bucket, ensuring that it is fully submerged. Allow the mop head to soak for a few seconds to absorb the cleaning solution. Then, lift the mop out of the bucket and place it in the spin basket, which is usually located on the top of the bucket.
Next, press down on the mop handle and push it into the spin basket. This will activate the spinning mechanism and remove excess water from the mop head. Repeat this process a few times to ensure that the mop head is properly rinsed and not dripping wet.
Step 4: Mopping the Floor
Now it’s time to start mopping! Begin by placing the mop head onto the floor and pushing it forward in a smooth motion. Use gentle pressure to ensure that the mop head makes contact with the floor and effectively removes dirt and grime.
Continue mopping in a back-and-forth motion, overlapping each stroke slightly to ensure complete coverage. If you encounter any stubborn stains or spills, apply a bit more pressure and scrub the area with the mop head.
Step 5: Rinsing and Repeating
As you mop, you will notice that the mop head becomes dirty over time. To prevent spreading dirt and grime, periodically rinse the mop head in the bucket and repeat the spinning process to remove excess water.
Depending on the size of the area you are mopping, you may need to empty and refill the bucket with clean water and fresh cleaning solution. This will ensure that you are always using clean water to mop your floors, resulting in a more effective cleaning process.
Step 6: Drying the Floor
Once you have finished mopping, it’s important to allow the floor to dry completely. Avoid walking on the wet surface to prevent slipping and to allow the cleaning solution to evaporate. If you need to speed up the drying process, you can use a fan or open windows to improve air circulation.
Conclusion
Congratulations! You have successfully learned how to use a spin mop effectively. By following these step-by-step instructions, you can achieve a sparkling clean floor in no time. Remember to assemble the mop, prepare the cleaning solution, dip and rinse the mop, mop the floor, rinse and repeat as necessary, and allow the floor to dry. Happy mopping!
Here are the answers provided by artificial intelligence (AI)
Using a spin mop effectively requires proper assembly, correct water filling, and the right mopping technique. Here is a step-by-step guide on how to use a spin mop effectively:
Step 1: Unpack & Assemble Your Spin Mop
- Unpack your spin mop and ensure you have all the necessary components .
- Follow the provided instructions to assemble your spin mop, including attaching the handle, poles, mop head, and microfiber pad .
Step 2: Fill the Clean Water Bucket with Water and Cleaning Solution
- Fill the clean water bucket with the appropriate amount of water and cleaning solution according to the instructions .
Step 3: Connect the Buckets
- Connect the spinner/dirty water bucket to the clean water bucket by sliding the spinner/dirty water bucket into the slot on the side of the clean water bucket .
Step 4: Dip the Mop Head in the Bucket & Start Mopping
- Dip the mop head into the clean water bucket, ensuring it is fully saturated with water and cleaning solution
- Use the built-in wringer or spin mechanism to remove excess water from the mop head .
- Start mopping in one direction, working in sections to cover the entire surface area of your floor .
- When the mop becomes saturated with dirt or grime, use the spinner to spin away dirty water and debris
- Repeat the process of dipping the mop head into the clean water bucket and using the spinner to wring out excess water .
Step 5: Rinse and Store the Spin Mop
- After mopping, remove the mop head and rinse it thoroughly under running water
- Pour out the dirty water from the dirty water bucket and rinse the bucket
- Store the spin mop by nesting the dry, empty dirty water/spinner bucket inside the clean water bucket